|
|
|
The SVG-based workflow. SVG image preparation: MG-Picker Studio v2 comes with SVG support, and the primary vector graphics editors tested were Inkscape and Adobe Illustrator. You just draw the whole picker panel using these tools, including the Select-button, Command-Button, Graphic Items, background graphics, etc. Here is an example:
SVG Image by Miguel Gao, rig by Josh Sobel. •Use vector as much as you can in SVG, avoid using bitmap is not zoom friendly and is bigger in file size, and tend to be heavy than vector image performance-wise. •Some vector elements will be converted to bitmap when saving as SVG, and some vector features are just not supported in SVG, these are examples: •Text SVG elements are not well supported by Qt, there are bounding box issues so text elements cannot be imported as separated picker buttons, they are OK to be used within a group, and you only make the group as a button. •Give each element a meaningful ID if you want to make them a button. In Inkscape, you just name them in the "Layers and Objects" panel, In Illustrator it is the layer panel. •One special convention for element ID, is the use of "[]", e.g. you name a SVG element as "[arm]abcd", then this get import as select button, the button will have a name called "arm" and a member "abcd". •There are four types of images supported during import, the base image, the image used when the mouse hovers over a certain element, the image used when the mouse is pressed, and the selection highlight image when select-button is highlighted.
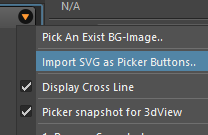
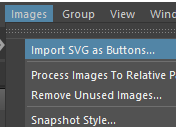
The Batch Import Dialog: Two ways to launch this dialog: 1.Click on the triangle button at the top-right of each picker panel, and select "Import SVG as Picker Buttons". 2.Go to the Image menu, and select "Import SVG as Buttons.."
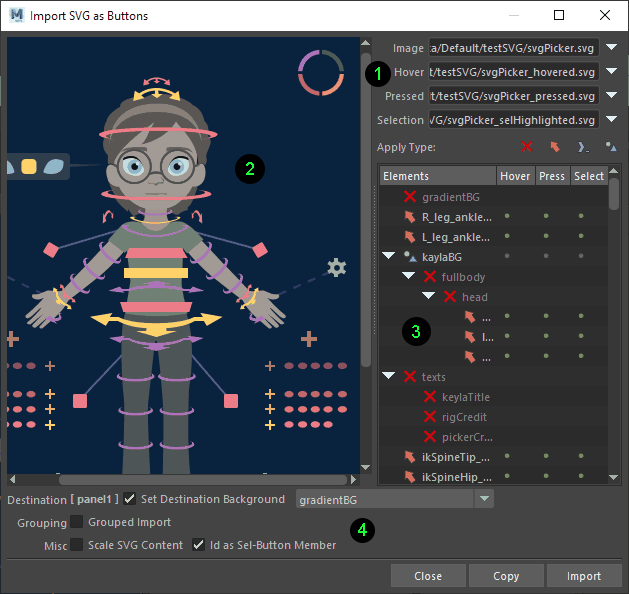
Once you pick up the primary base image, the dialog will pop up:
Area 1: The file path for the image of 4 states Hit the triangle button at the right to pick images, Alternately, Dnd images to the file path field. Area 2: The SVG image preview area, which supports mouse interaction, e.g. click on an element and select elements. If you picked up images of 4 states, you will see the hovered elements using the same element from the hovered image, pressed element come from the pressed image, on release, if the element is set to be a select button, it will show the selection highlight elements. Area 3: The tree view shows you the element hierarchies. Use the button Area 4: The import option. Whether to use the element ID as select-button's member.
There is API support for SVG batch import, check out here for more information. |
|
|